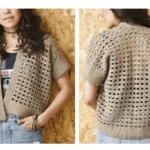
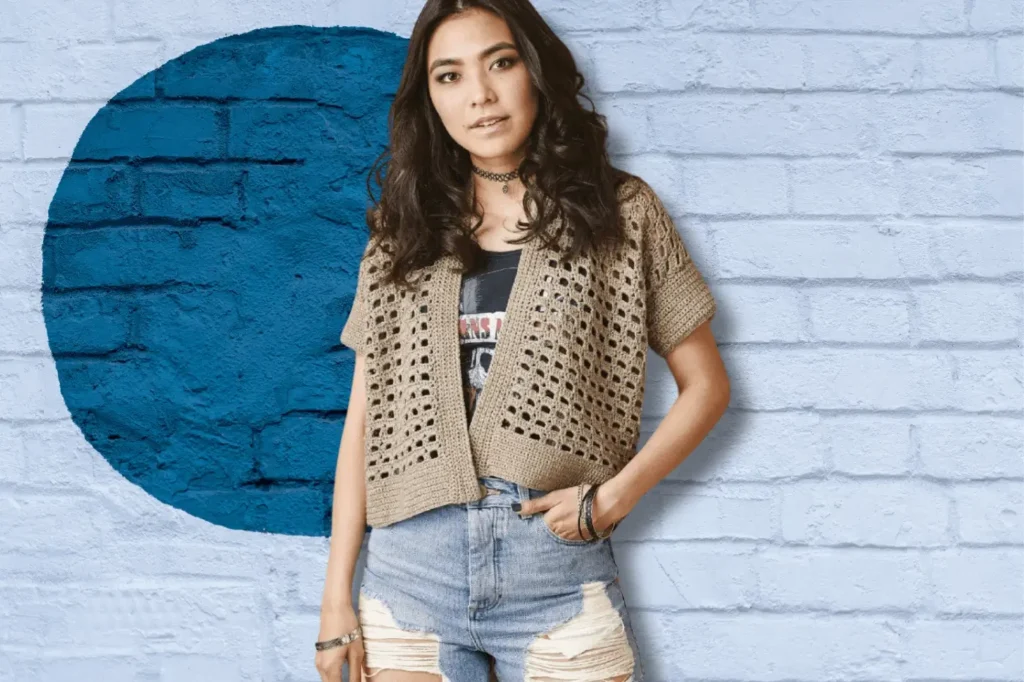
A Crochet Dress is the perfect summer wardrobe essential—lightweight, breathable, and effortlessly stylish. Whether you’re heading to the beach, enjoying a casual day out, or dressing up for an evening event, a handmade crochet dress offers versatility and comfort.
This design features an openwork stitch pattern, allowing for maximum airflow and a breezy feel, making it ideal for warm weather. The combination of structured stitches and a relaxed fit ensures a flattering silhouette that suits all body types.
In this tutorial, we’ll guide you through everything you need to know to create your own Crochet Dress, from choosing the right materials and mastering the essential stitches to following a step-by-step pattern and adding the perfect finishing touches. Whether you’re a beginner or an experienced crocheter, this tutorial will help you bring your summer dress vision to life! 🌿🧶✨
Table of Contents
- Materials and Tools Needed
- Crochet Stitches and Techniques Used
- Step-by-Step Crochet Dress Pattern
- Finishing Touches and Styling Tips
- Conclusion
Materials and Tools Needed
Before starting your Crochet Dress, gathering the right materials and tools is essential for achieving the perfect fit, texture, and durability. Below are the recommended yarn, hooks, and accessories to ensure a smooth crocheting experience.
Best Yarn for a Crochet Summer Dress
Choosing the right yarn is key to creating a comfortable and breathable Crochet Dress that’s perfect for warm weather.
- Rowan Softyak (cotton blend): This yarn combines cotton (78%) with yak (15%) and nylon (9%), making it soft, lightweight, and durable. It also has anti-microbial properties and is static-resistant, ensuring long-lasting wear.
- Alternative Yarn Choices:
- 100% Cotton Yarn – Provides excellent stitch definition and breathability (e.g., Paintbox Cotton DK, Lion Brand 24/7 Cotton).
- Bamboo Yarn – Known for its silky softness and moisture-wicking properties (e.g., Hobbii Bamboo Cotton, WeCrochet Bamboo).
- Cotton-Acrylic Blend – Adds a bit of stretch while remaining lightweight (e.g., Drops Cotton Light, Bernat Softee Cotton).
💡 Tip: Avoid heavy or stiff yarns, as they can make the dress feel bulky instead of flowy and airy.
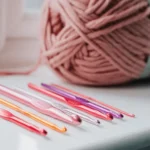
Recommended Crochet Hooks and Accessories
Using the correct crochet hook ensures even stitches, proper drape, and a smooth crocheting experience.
- Hook Size:
- 3.5mm crochet hook (US E/4) – This size works well with Rowan Softyak and other lightweight yarns to maintain the structure of the Crochet Dress.
- Recommended Hook Brands:
- Clover Amour – Comfortable grip for long crocheting sessions.
- Tulip Etimo – Smooth, ergonomic handle for reduced hand fatigue.
- Furls Streamline – Stylish wooden hooks that glide effortlessly through yarn.
Additional Tools:
✔ Stitch Markers – Helps keep track of stitches, especially in lace/openwork patterns.
✔ Measuring Tape – Ensures accurate sizing while working on the dress.
✔ Scissors – Sharp blades for clean cuts when changing yarn or finishing seams.
✔ Yarn Needle – Necessary for weaving in ends and assembling pieces neatly.
💡 Tip: If you experience hand strain, consider using an ergonomic crochet hook to prevent fatigue.
Gauge and Tension for the Perfect Fit
Gauge is crucial when making a Crochet Dress, as slight differences can affect the overall fit.
- How to Swatch for Correct Measurements:
- Crochet a 10×10 cm (4×4 inch) square using the openwork stitch pattern from the dress.
- Count the number of stitches and rows to match the pattern requirements:
- 21 stitches and 10 rows = 10×10 cm (open stitch pattern).
- 22 stitches and 21 rows = 10×10 cm (dense fabric).
- If your swatch doesn’t match the gauge, adjust your hook size:
- Too small? Use a larger hook to loosen the stitches.
- Too big? Use a smaller hook to tighten the stitches.
💡 Tip: Blocking your swatch before measuring will give you the most accurate gauge reading.
Now that you have the perfect yarn, hooks, and tools, you’re ready to start crocheting your Chic and Breezy Summer Dress! Up next, we’ll go over the essential crochet stitches you’ll need for this project. 🧶✨
Crochet Stitches and Techniques Used
To create this chic and breezy crochet dress, you’ll need to master a few essential crochet stitches and techniques. The combination of an openwork stitch pattern and basic stitches ensures that the dress remains light, breathable, and stylish while maintaining its structure.
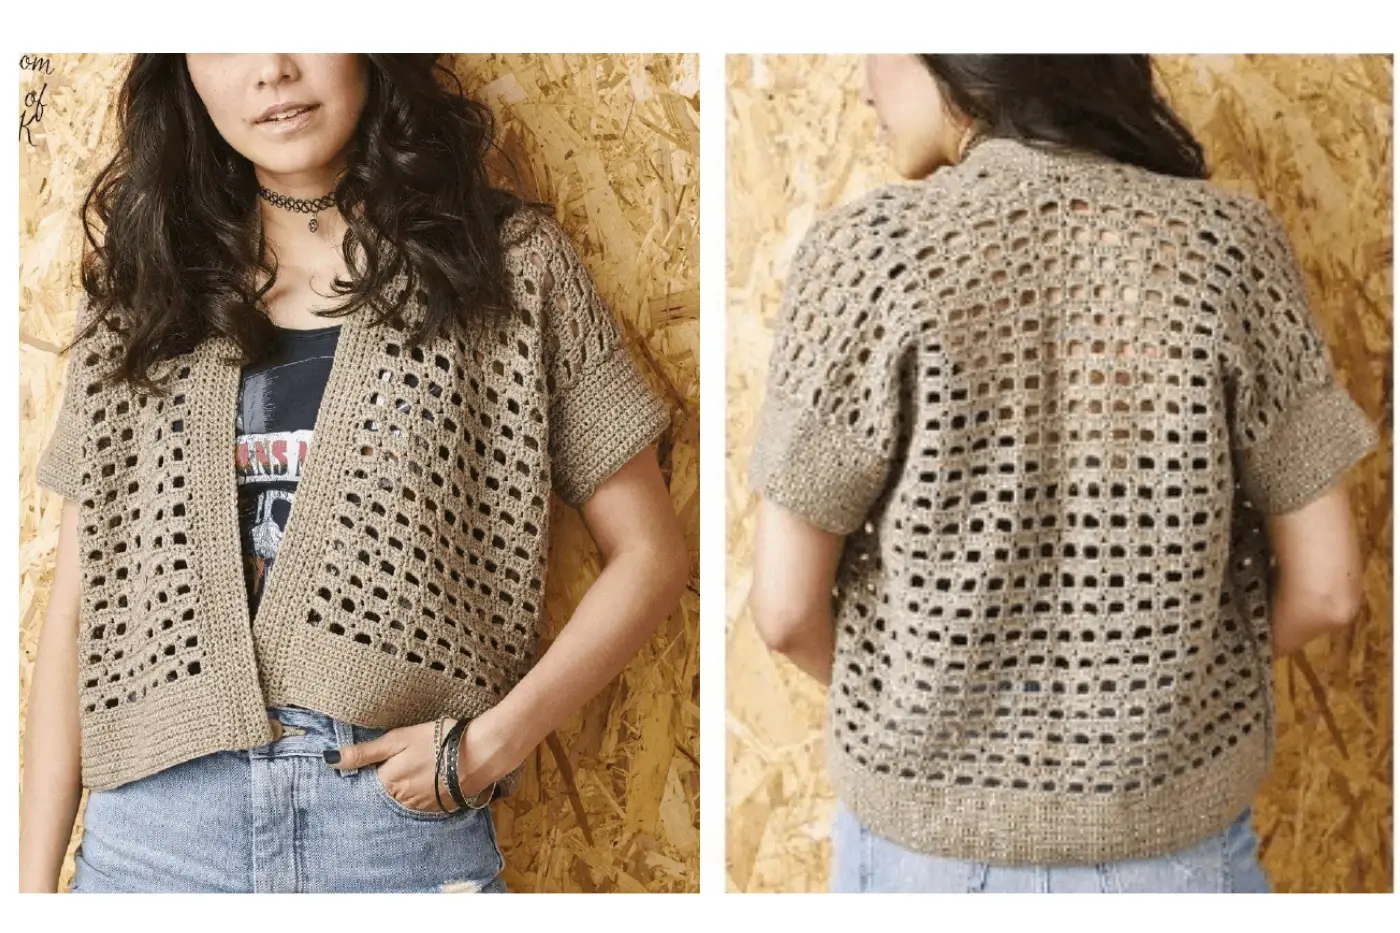
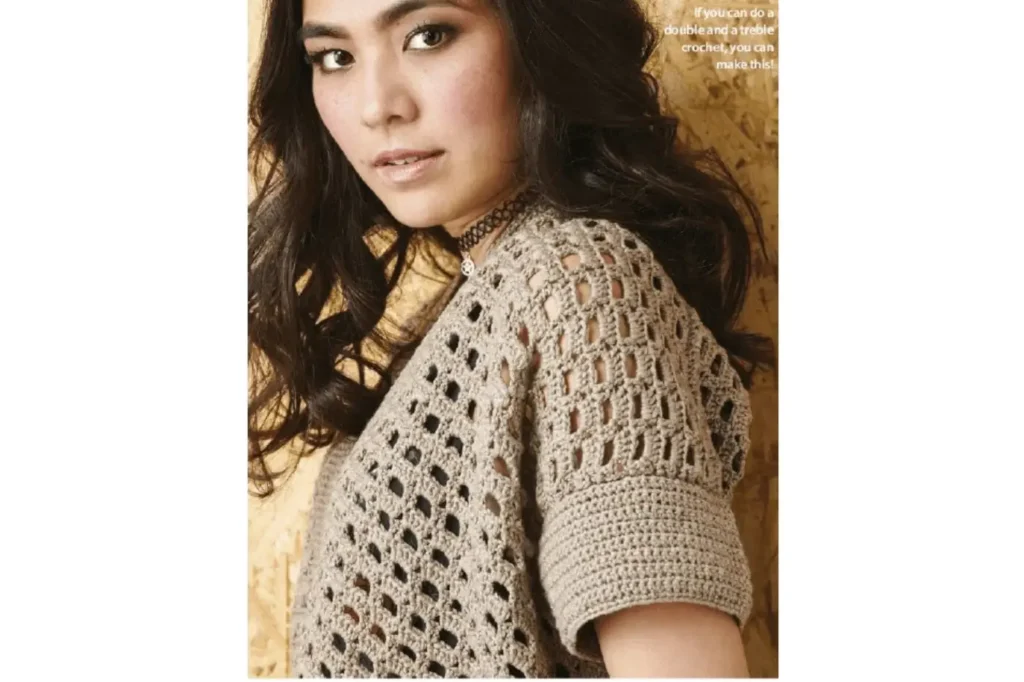
Openwork Stitch Pattern for Breathability
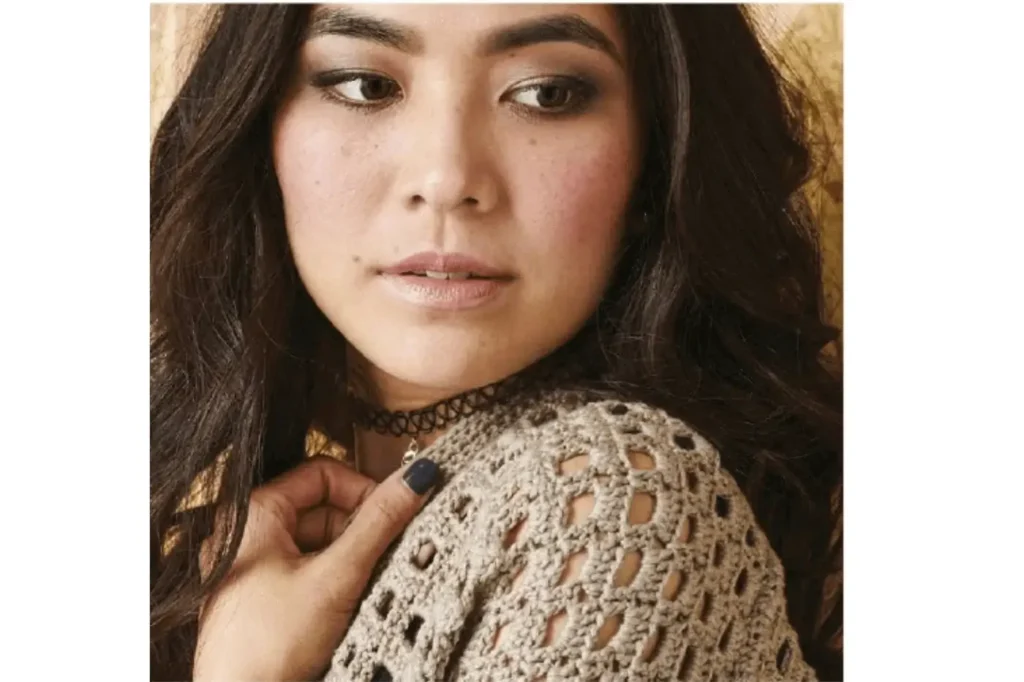
The openwork stitch pattern is what gives this crochet dress its airy and lightweight feel, making it perfect for warm weather. This lace-like stitch creates gaps within the fabric, allowing for better airflow while still offering coverage.
- How It Works:
- The stitch pattern consists of a combination of treble crochet (tr) and chain spaces (ch-3) to create a decorative, mesh-like texture.
- The alternating stitches help maintain a balanced structure, preventing the dress from being too loose or stiff.
- It also helps the dress drape beautifully over the body, making it flattering on all body shapes.
💡 Tip: If you want a more open or denser stitch pattern, you can adjust the number of chain spaces or change the yarn weight for a different look.
Basic Stitches Used
This crochet dress uses a few fundamental crochet stitches that, when combined, create an elegant and breathable fabric.
- Chain Stitch (ch): The foundation for most crochet projects and essential for the openwork pattern.
- Treble Crochet (tr): A tall stitch that gives the dress its lace-like, airy texture.
- Double Crochet (dc): Used for denser fabric sections, providing structure and stability.
- Slip Stitch (sl st): Used for joining pieces seamlessly and creating smooth transitions.
💡 Tip: If you’re new to treble crochet, practice a few swatches before starting your dress to ensure consistent tension and stitch height.
Increasing and Shaping the Dress
To ensure a comfortable and flattering fit, this pattern includes shaping techniques that allow the dress to flow naturally.
- Increasing for a Flowy Skirt:
- By adding extra stitches in key areas, the lower part of the dress widens gradually, creating an elegant A-line shape.
- Increases are done by working multiple stitches into the same space, allowing for more fabric without creating bulk.
- Shaping the Waist and Bust:
- The waistline is slightly shaped by adjusting stitch counts in certain rows to create a structured yet relaxed fit.
- The bust area is shaped using strategic increases and stitch variations to ensure a comfortable, flattering drape.
- Maintaining Structure Without Making the Dress Too Stiff:
- The combination of openwork and solid stitch sections ensures that the dress remains structured while maintaining flexibility.
- Using the right tension is crucial—too tight, and the dress will feel stiff; too loose, and it won’t hold its shape.
💡 Tip: Try the dress on as you go (if possible) to ensure the fit is just right, making small adjustments to stitch counts if needed.
With these stitches and shaping techniques in place, you’re now ready to start crocheting your summer dress! In the next section, we’ll break down the step-by-step pattern to guide you through the entire process.
Step-by-Step Crochet Dress Pattern
Now that you’re familiar with the stitches and techniques, it’s time to start crocheting your chic and breezy summer crochet dress. This pattern is worked in separate panels (Back, Front, and Sleeves) before being assembled for a flattering and comfortable fit.
| SIZE | 8-10 | 12-14 | 16-18 | 20-22 | 24-26 |
|---|---|---|---|---|---|
| TO FIT BUST | cm 81-86 | cm 91-97 | cm 102-107 | cm 112-117 | cm 122-127 |
| in 32-34 | in 36-38 | in 40-42 | in 44-46 | in 48-50 | |
| ACTUAL BUST (APPROX) | cm 107 | cm 116 | cm 126 | cm 135 | cm 145 |
| in 42 | in 45½ | in 49½ | in 53 | in 57 | |
| LENGTH | cm 54 | cm 56 | cm 58 | cm 60 | cm 62 |
| in 21¼ | in 22 | in 22¾ | in 23½ | in 24½ | |
| SLEEVE LENGTH | cm 8 | cm 8 | cm 8 | cm 8 | cm 8 |
| in 3¼ | in 3¼ | in 3¼ | in 3¼ | in 3¼ | |
| YARN TAUPE (245) | 50g | 8 | 8 | 8 | 9 |

Width a: 53.5 (58:63: 67.5: 72.5)cm 21 (22¾: 24¾: 26½: 28½)in
Length b: 54 (56:58:60:62)cm 21¼ (22: 22¾: 23½: 24½)in
Sleeve Length c: 8cm 3¼in
Starting the Back Panel
The back panel forms the foundation of your crochet dress, giving it structure and length.
1️⃣ Foundation Chain & Stitch Count:
- Chain 113 (123, 133, 143, 153) to create the width of the dress.
- The last chain counts as a turning chain.
2️⃣ Working in Rows with the Openwork Pattern:
- Row 1 (RS): Dc into 2nd chain from the hook, dc across. Turn. [112 (122, 132, 142, 152) sts]
- Rows 2-15: Ch 1, dc across. Turn.
- Row 16 (WS – Openwork Stitch Begins):
- Ch 3 (counts as tr), tr into next dc.
- Ch 3, skip 3 dc, tr into next 2 dc – repeat to the end. Turn.
- Row 17 (RS):
- Ch 3, skip next tr.
- Tr into next chain space, skip 2 tr – repeat to end. Turn.
- Repeat Rows 16-17 until the back panel measures 54 (56, 58, 60, 62) cm.
3️⃣ Length and Shaping Tips:
- For a longer dress, continue adding openwork pattern rows.
- If you want a tighter waist, decrease a few stitches in the midsection.
- For a looser fit, use a larger crochet hook to allow more drape.
Fasten off and set aside.
Crocheting the Front Panel
The front panel mirrors the back panel but includes neckline shaping for a comfortable fit.
1️⃣ Follow the same instructions as the Back Panel up to Row 40 (or halfway point).
2️⃣ Creating the Neckline:
- Find the center stitch and place stitch markers to separate the two sides.
- Continue working one side at a time:
- Decrease 2 stitches per row at the neckline for a slight curve.
- Work until each side measures 54 (56, 58, 60, 62) cm.
3️⃣ Mirroring the Shaping on the Other Side:
- Repeat the same stitch pattern on the second side of the front panel.
💡 Tip: Try the panel against your body as you work to adjust the neckline depth for a more customized fit.
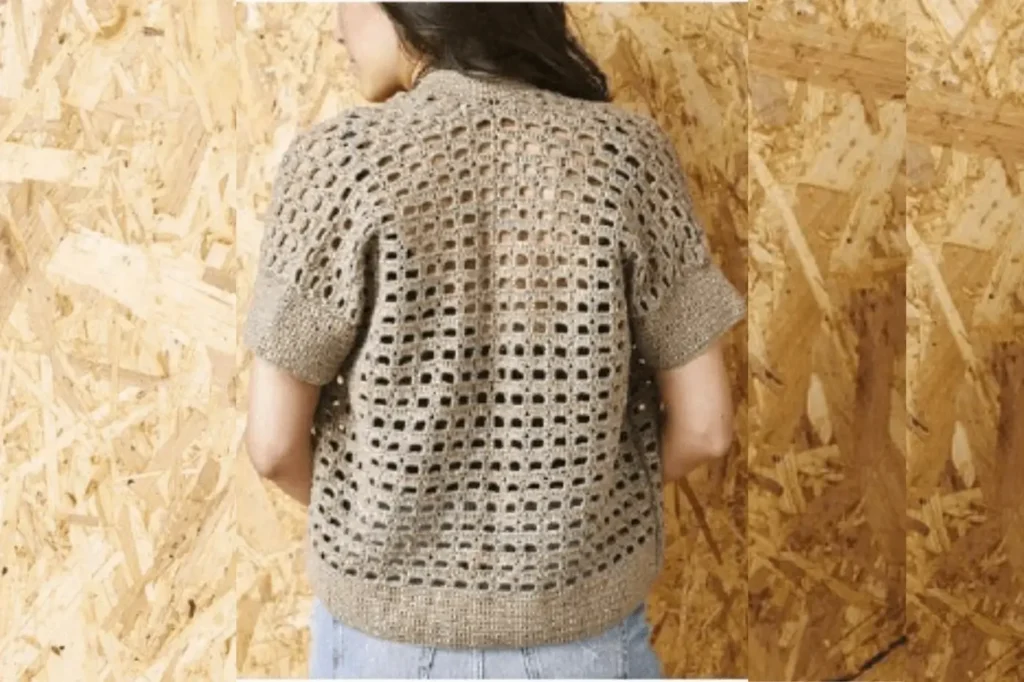
Sleeves and Shoulder Construction
This crochet dress features short sleeves for a light and airy summer feel.
1️⃣ Foundation Chain:
- Ch 71 (79, 85, 91, 99) for a comfortable sleeve width.
2️⃣ Work in Rows:
- Row 1: Dc in 2nd chain from hook, dc across. Turn. [70 (78, 84, 90, 98) sts]
- Rows 2-5: Repeat dc rows for sleeve structure.
- Row 6 (WS – Increase Row): Ch 1, 2 dc into the first stitch, dc across, 2 dc into the last stitch. Turn. [72 (80, 86, 92, 100) sts]
- Continue until sleeves measure 18 cm (or your desired length).
3️⃣ Attaching the Sleeves:
- Mark 18 (19.5, 21, 22.5, 24) cm from the shoulder seams to create the armhole.
- Sew the sleeve edges to the armhole openings using a slip stitch join or invisible seam technique.
💡 Tip: If you want longer sleeves, continue adding rows in the openwork pattern.
Joining the Pieces Together
1️⃣ Sewing the Shoulder Seams:
- Align the top edges of the front and back panels.
- Use invisible stitching or a slip stitch join to secure the shoulders.
2️⃣ Attaching the Sleeves to the Body:
- Position the sleeves evenly along the side seams.
- Sew them in place using a mattress stitch for a seamless look.
3️⃣ Sewing the Side Seams:
- With WS facing, join the sides from the bottom hem to the underarm.
- Use backstitch or slip stitch for extra durability.
4️⃣ Reinforcing Stitches for Durability:
- Weave in all loose ends securely.
- Block the dress for an even, professional finish.
💡 Tip: If you want a more open, relaxed fit, leave a small slit at the bottom of each side seam.
Now that you’ve completed the main construction of your crochet dress, it’s time to add the finishing touches, ensuring a perfect fit and polished look. Up next, we’ll cover blocking, weaving in ends, and styling tips!
Finishing Touches and Styling Tips
Now that your crochet dress is fully assembled, it’s time to add the final touches to ensure a polished, professional look. Proper blocking, weaving in ends, and styling will elevate your handmade dress and make it even more stunning to wear.
Blocking Your Crochet Dress for the Best Fit
Blocking is an essential step that helps define the stitches, smooth out uneven edges, and improve the overall drape of your crochet dress. Depending on your yarn type, you can choose between wet blocking and steam blocking.
- Wet Blocking (Best for Cotton & Bamboo Yarns)
- Soak the dress in lukewarm water with a mild detergent for about 10–15 minutes.
- Gently squeeze out excess water (do not wring).
- Lay it flat on a blocking mat or clean towel, shaping it to match the intended dimensions.
- Use rustproof pins to hold it in place and let it dry completely.
- Steam Blocking (Best for Acrylic & Blended Yarns)
- Lay the dress flat on a blocking mat.
- Hold a steam iron or garment steamer a few inches above the fabric (do not touch the yarn directly).
- Lightly steam the entire surface, shaping as needed.
- Let it cool and dry in place.
💡 Tip: Always test blocking on a small swatch before applying it to the whole dress, especially for delicate yarns.
Weaving in Ends and Final Adjustments
Before wearing your crochet dress, it’s important to secure all loose yarn ends to prevent unraveling and ensure a polished look.
- How to Weave in Ends Neatly:
- Thread a yarn needle with the loose end.
- Weave the tail into the back of stitches for at least 2–3 inches.
- Change directions once or twice for added security.
- Trim any excess yarn, leaving a tiny tail to blend into the stitches.
- Checking Fit and Making Minor Adjustments:
- Try on the dress and check for any areas that feel too tight or loose.
- If needed, adjust the seams or add a decorative border to enhance the shape.
- Reinforce any stretched-out stitches by working a slip stitch along the edge.
💡 Tip: If the neckline or sleeves feel too loose, add a simple edging using single crochet or slip stitches for a more defined finish.
Styling Your Handmade Crochet Dress
Your crochet dress is a versatile piece that can be styled for casual, elegant, or beachwear looks. Here are some ideas:
- Casual Chic:
- Pair with flat sandals and a sunhat for a relaxed summer outfit.
- Add a denim jacket for an effortless, laid-back look.
- Elegant & Dressy:
- Wear with heels and statement jewelry for a polished evening look.
- Layer over a silk slip dress for a sophisticated touch.
- Boho Beachwear:
- Layer over a bikini or swimsuit for the perfect beach cover-up.
- Add a woven belt to accentuate the waist and create a flattering silhouette.
- Best Color Choices for a Summer Crochet Dress:
- Neutral shades (beige, taupe, white): Timeless and elegant.
- Bright colors (coral, turquoise, mustard): Fun and summery.
- Pastels (blush pink, mint green, lavender): Soft and feminine.
💡 Tip: Experiment with different yarn colors to create a unique look that matches your personal style!
Your handmade crochet dress is now ready to wear and enjoy! 🎉 Whether you style it for a casual day out or a special occasion, this chic and breezy crochet dress will make a statement.
What’s Next?
We’d love to see your finished dress! Share your photos, styling tips, or modifications in the comments or tag us on social media. Happy crocheting! 🧶✨
Conclusion
Creating your own crochet dress is a rewarding experience that allows you to combine creativity and craftsmanship. Throughout this tutorial, we covered everything you need to know—from choosing the right yarn and mastering the openwork stitch pattern to following the step-by-step instructions and adding the perfect finishing touches.
One of the best things about crocheting your own dress is the ability to customize it to match your style. Feel free to experiment with different yarn types, colors, and stitch variations to create a unique piece that reflects your personality. Whether you prefer a classic neutral tone, a bold summer shade, or a soft pastel, your handmade dress will be one-of-a-kind.
We’d love to see your finished crochet dresses! Share your creations, modifications, and styling ideas in the comments below or tag us on social media. Happy crocheting!